Welcome to REAL WORLD CYCLING
Our SEARCH BAR is optimized to find what you need quickly. Enter the name of your bike frame, the first few numbers of a bearing, or description of any part!
2015 SID WORLD CUP SEAL CHANGE (NEW HY-GLIDE)
08/03/2018
Pictorial Service Instructions for the 2015 RockShox SID World Cup....
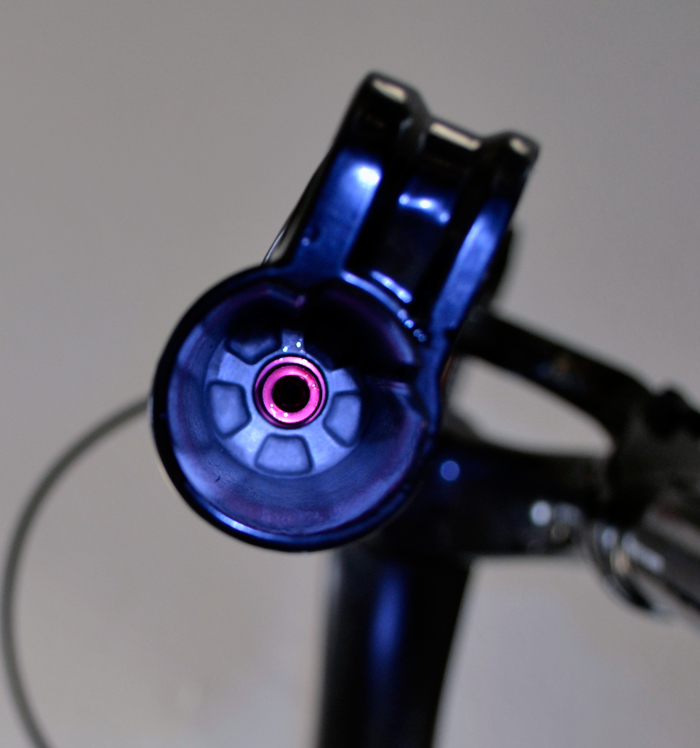
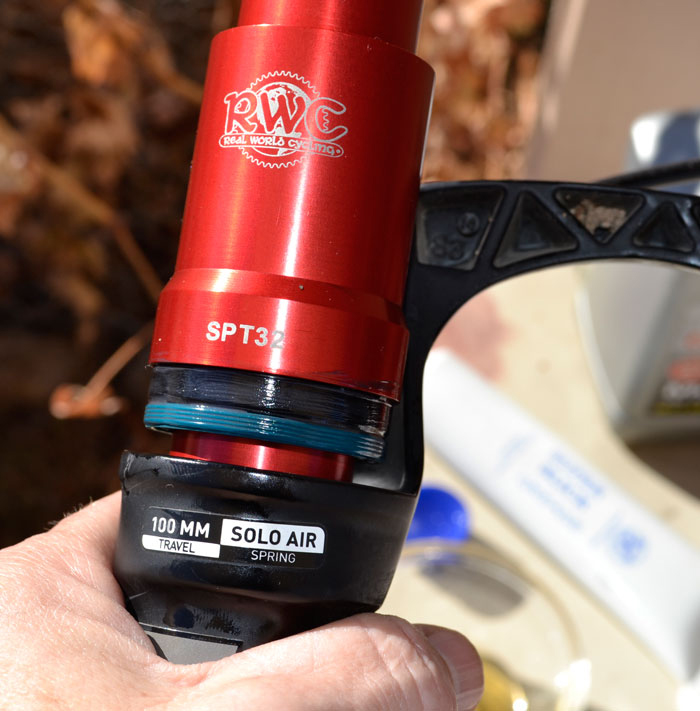
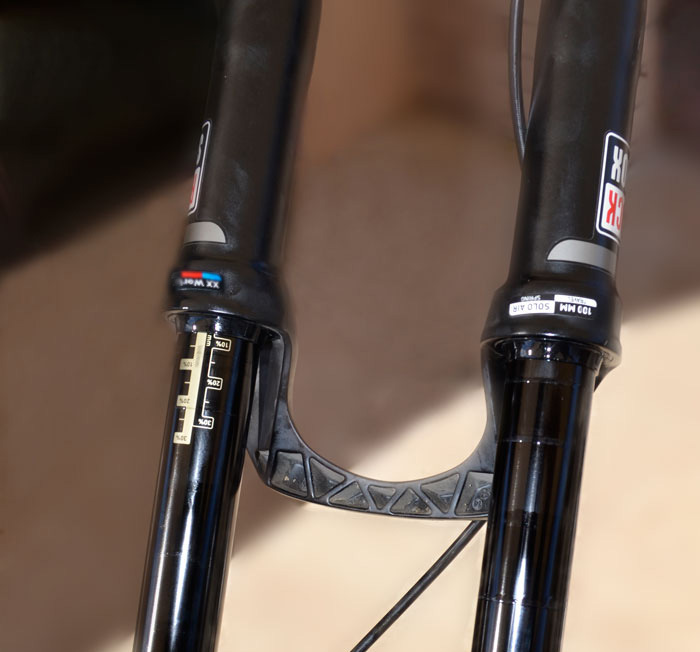
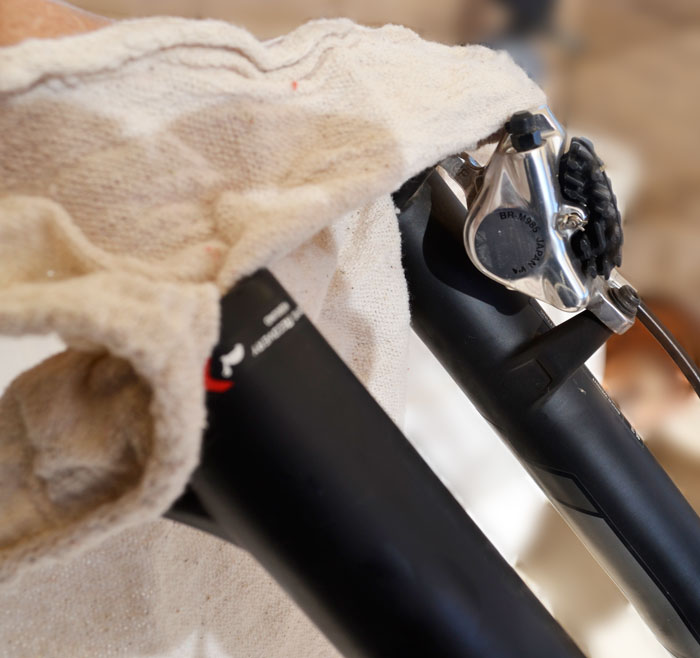
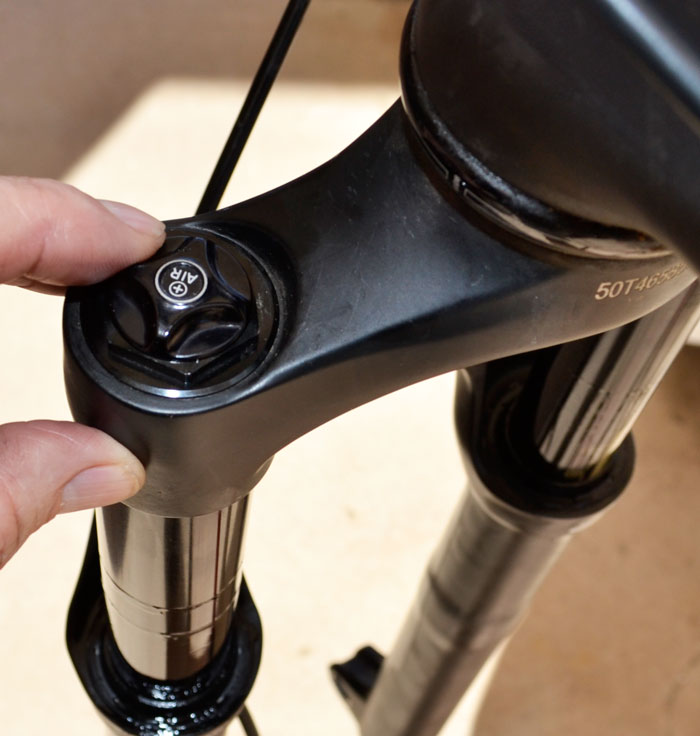
1) Remove the Schrader access cover from the air spring side of the fork and release the air pressure (protecting eyes from any oil spray):
2) Center the rebound adjustment by:
a) backing out knob all the way (count clicks, write down number so you can return to the same point after re-assembly)
b) Turn knob in all the way, counting number of clicks.
c) divide the number of clicks in half and turn the know counter-clockwise that many clicks.
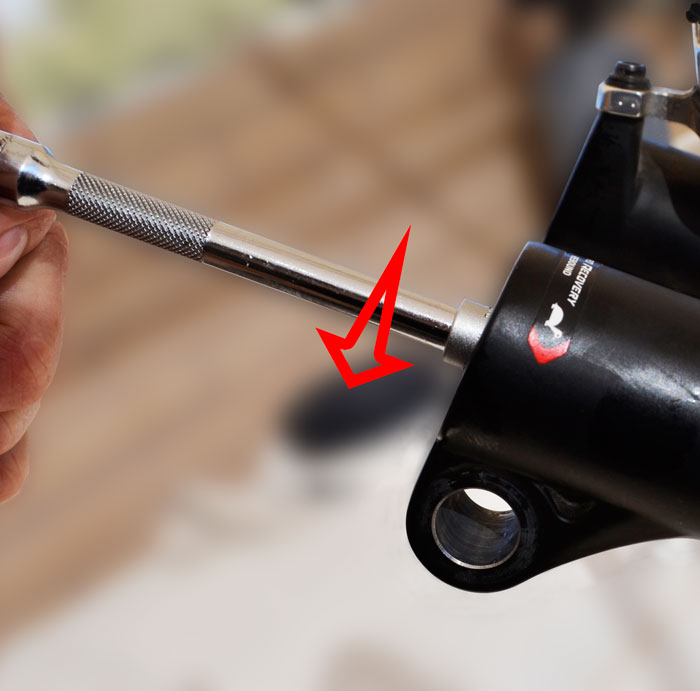
Firmly grasp the knob and pull straight down:
3) Set the rebound knob aside in a safe, clean location:
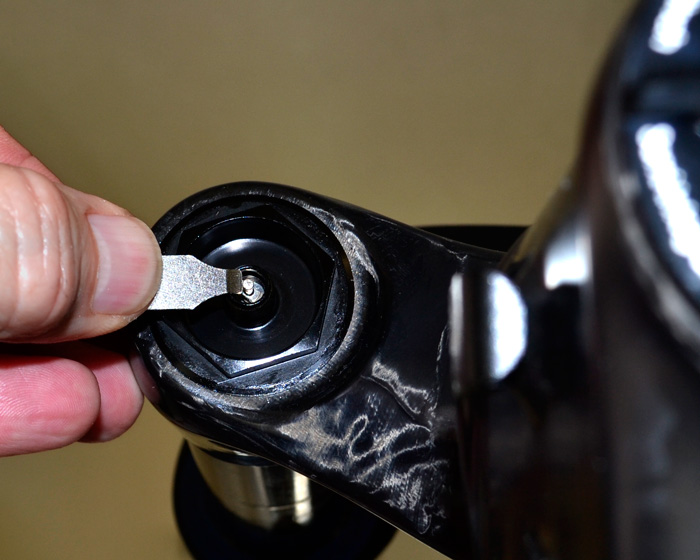
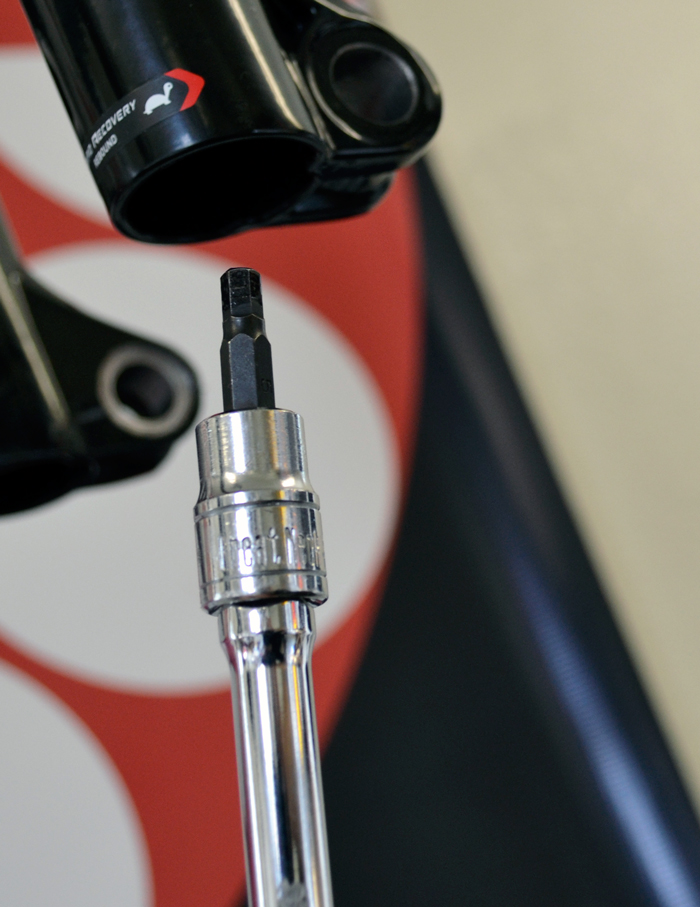
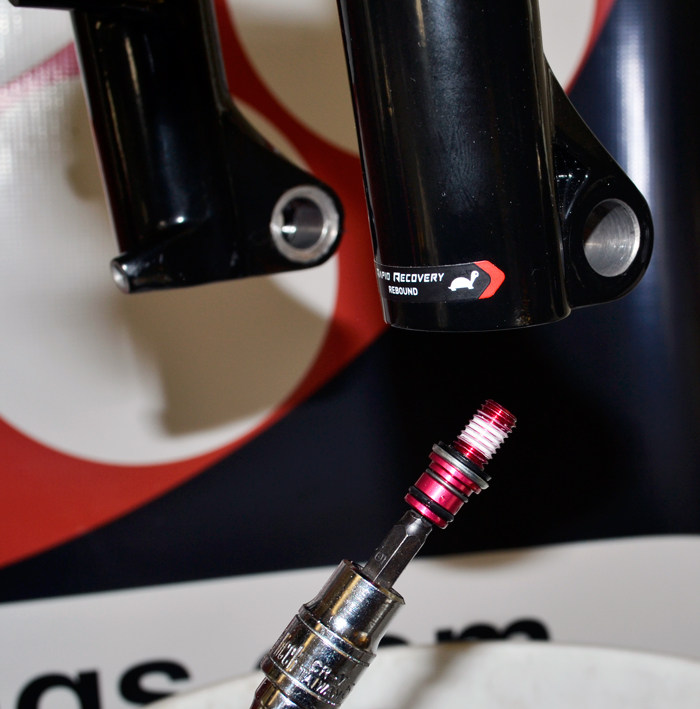
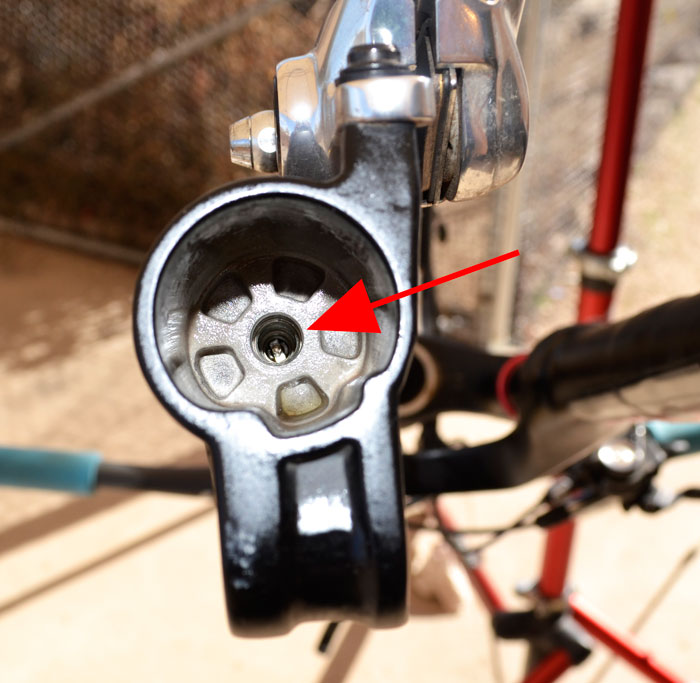
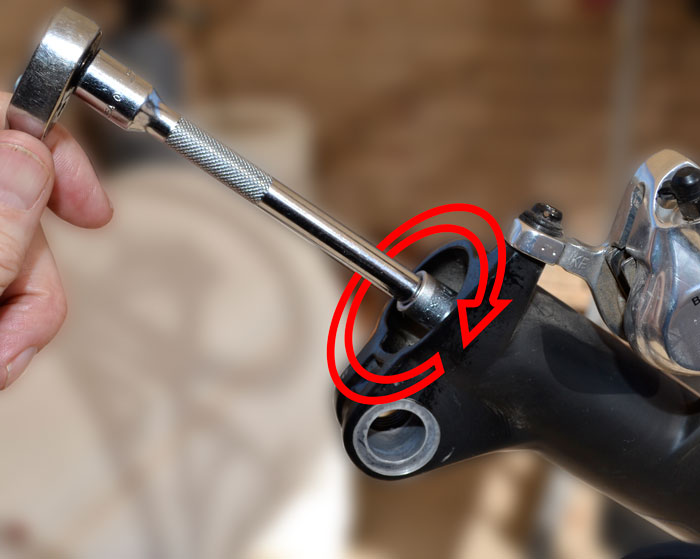
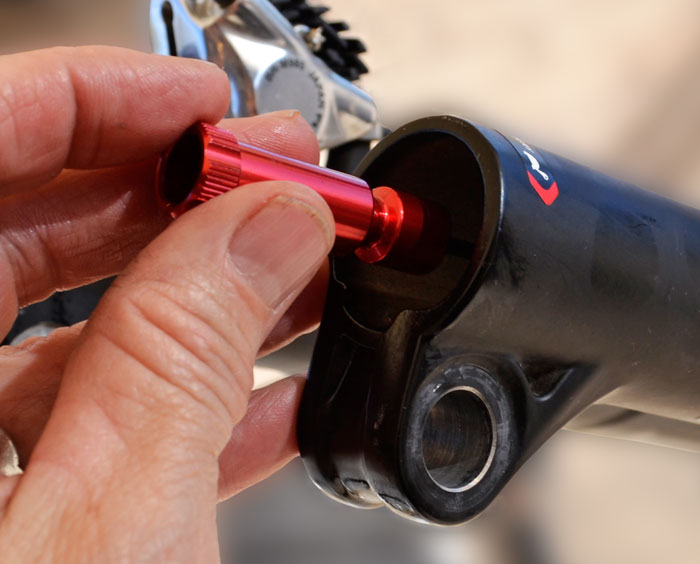
4) With the rebound knob removed, you will have access to the red bottom bolt:
5) A 5mm Allen wrench is used to loosen the bottom bolts:
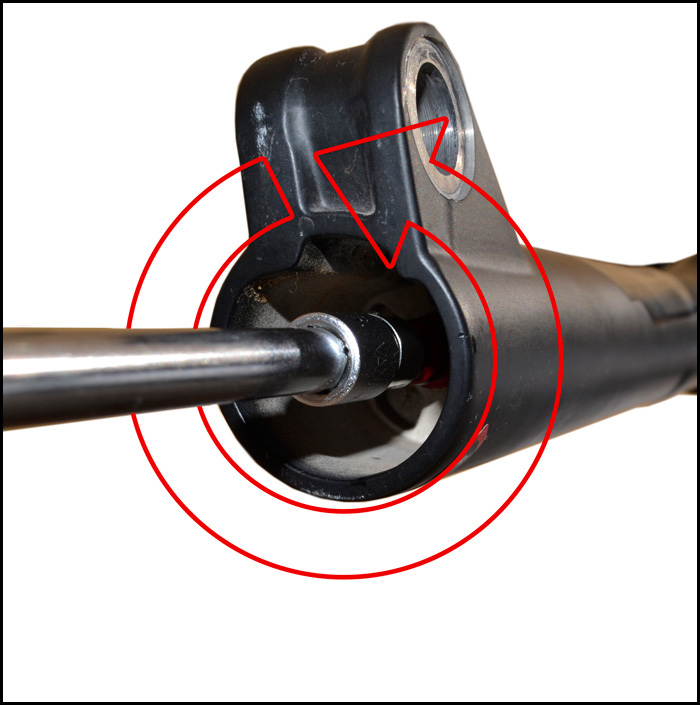
6) Loosen the bottom bolt by turning counter-clockwise. Don't completely remove it (loosen about 4 full turns):
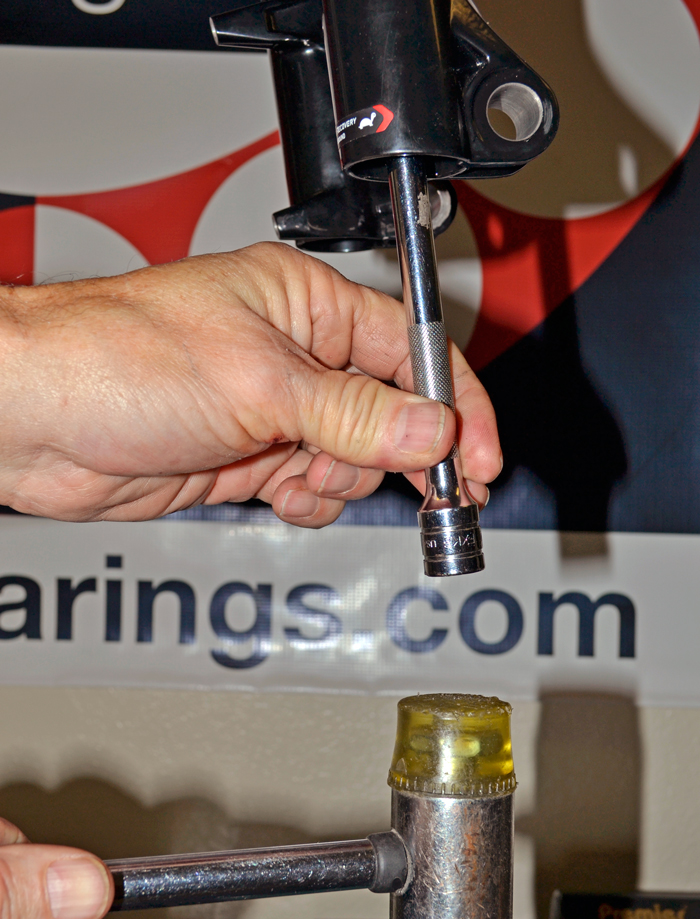
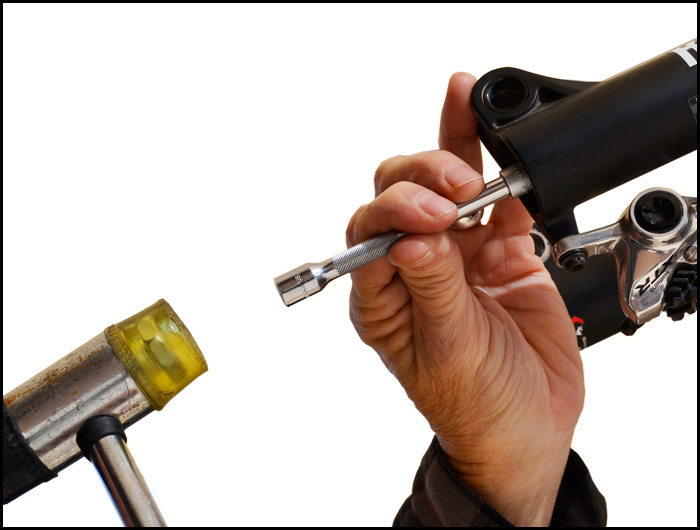
7) Be sure you have a bucket or pan under the fork before beginning this step. Use a plastic-faced mallet (or similar) to give a sharp upward blow, which will drive the bottom bolt upward, separating the damping rod from the bottom of the lower leg. Be prepared for oil...
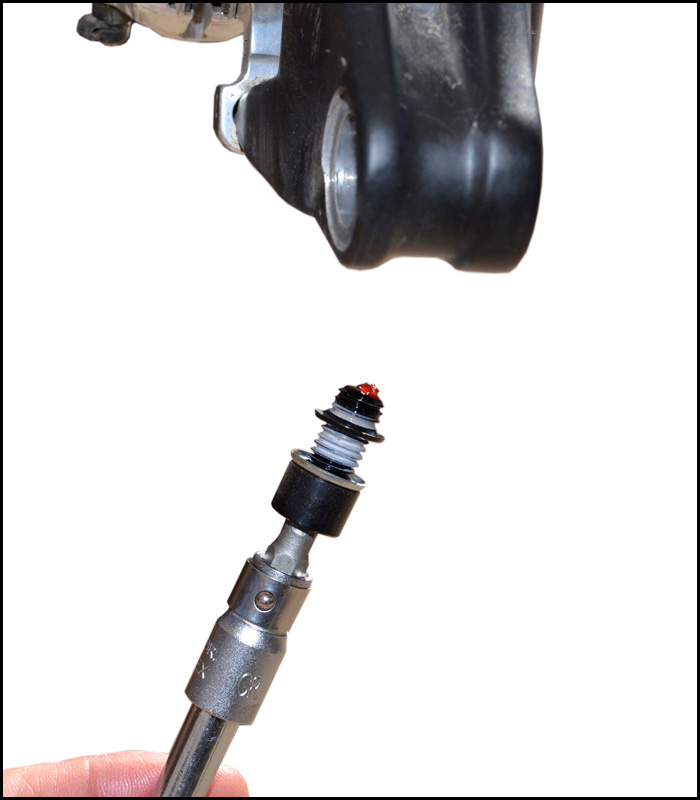
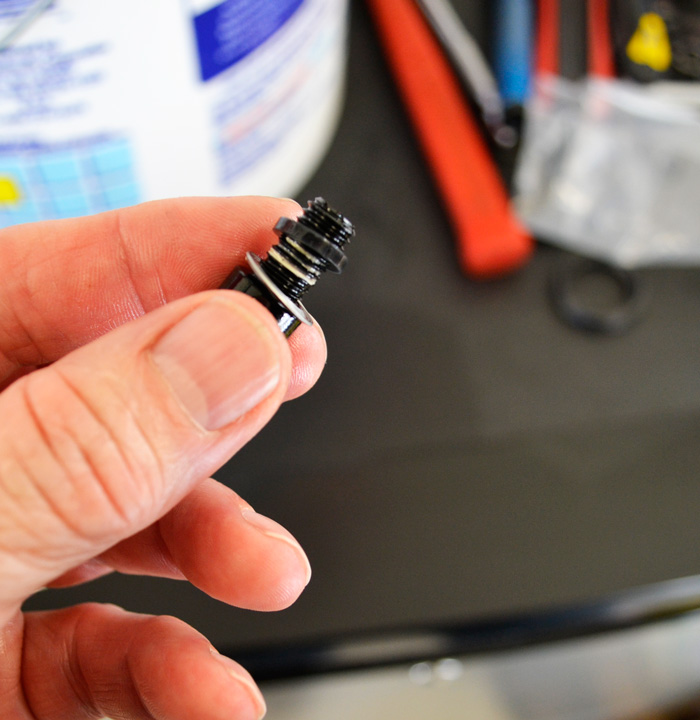
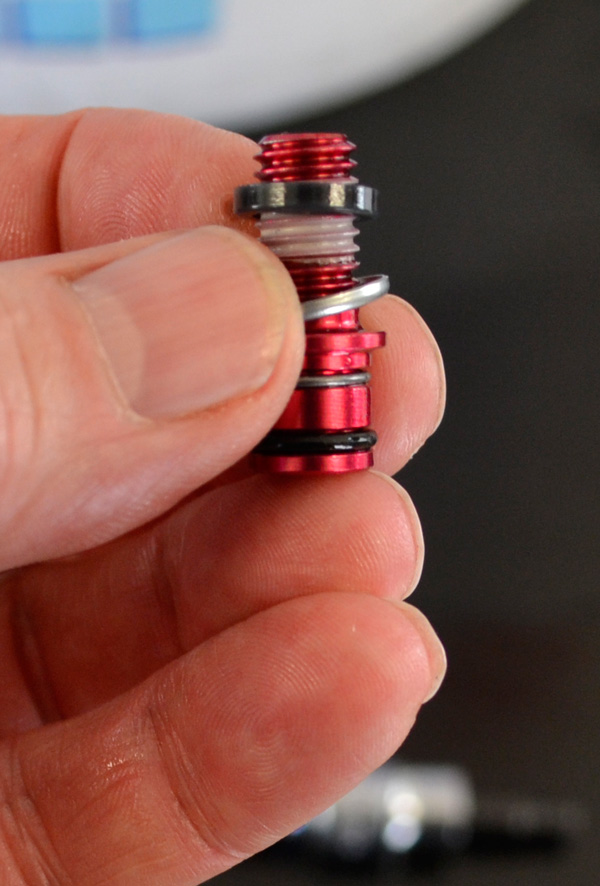
8) Wind the bottom bolt all the way out and set it aside with the rebound knob:
9) Use a the 5mm Allen wrench to loosen the air side bottom bolt about four full turns:

10) Use the plastic-faced mallet to give a sharp upward blow, as you did with the damper side:
11) Wind the bottom bolt all the way out to remove and set aside. You are now ready to slide the lower assembly off of the upper tubes:
NOTE: Everything necessary to remove the lower legs has been done. If you have difficulty sliding them off the upper tubes,
you may use a rubber mallet to carefully help the lower legs slide off of the upper tubes.
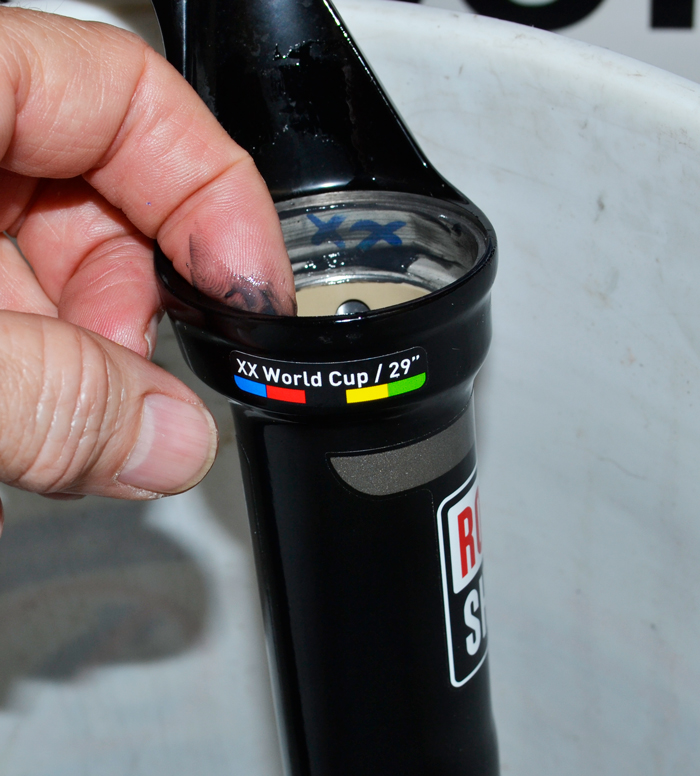
12) Pry out the wiper seals using a Pedro's DH Tire Lever. It was not made for this purpose, but it could have been...
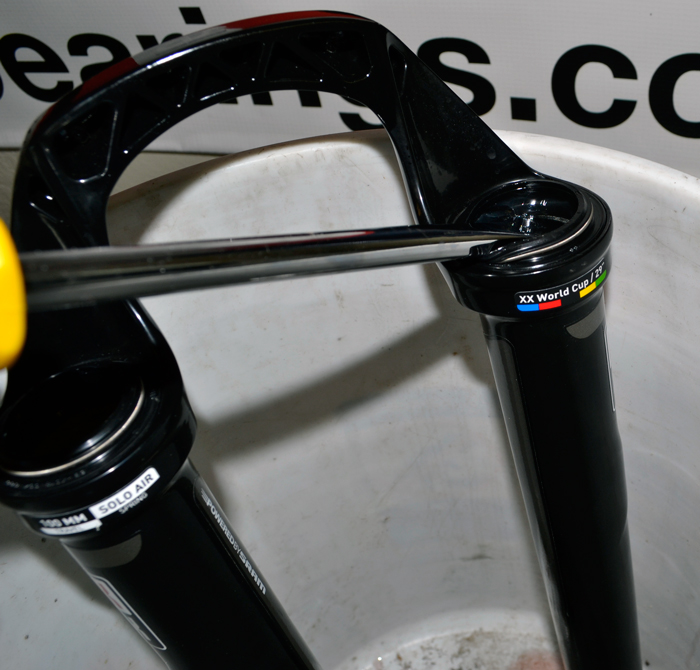
13) The rounded end of the lever keeps the seal head from getting scratched. Repeat for each side:
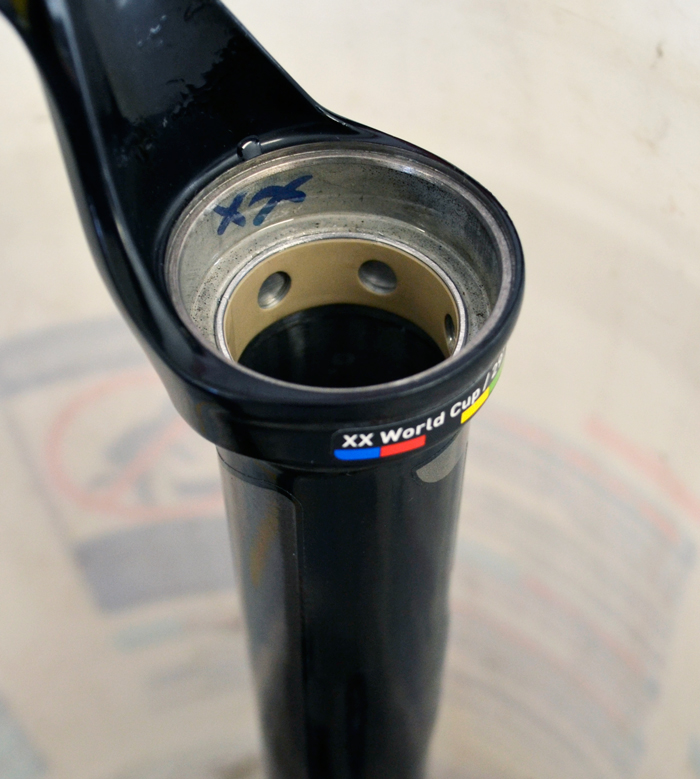
14) Inspect the seal heads and the insides of the lower fork legs. If there is nothing but clean oil in them, then there is no need to clean them out. If they are dirty, use a spray bottle of isopropyl alcohol to spray out the lowers and assist drying with a clean, lint-free towel and/or low pressure compressed air:
15) Coat the seal head surface with Rock 'n' Roll Super Slick grease. Remove any excess:
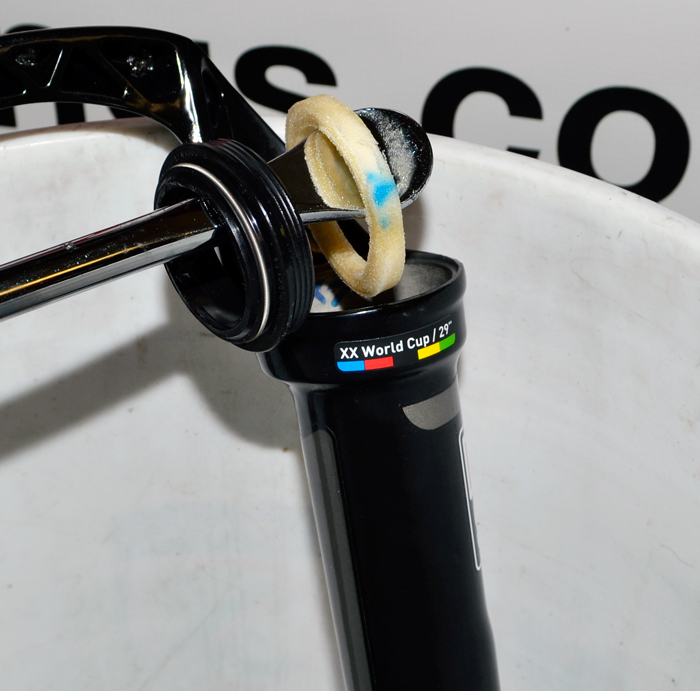
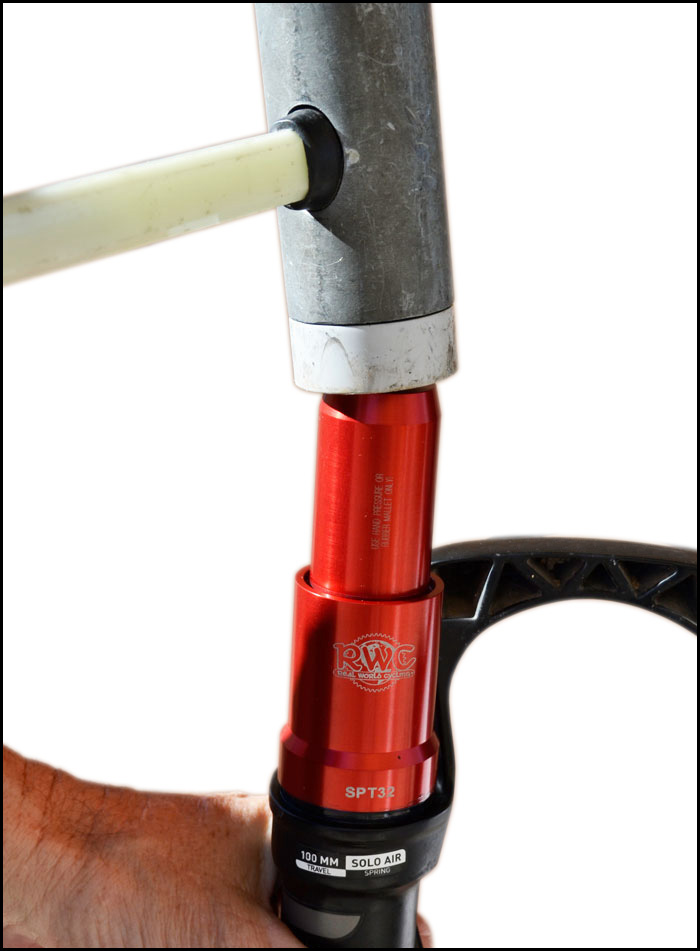
16) We highly recommend the use of our seal press tool. Had there been an equally good one available, we would not have gone to the trouble to design and manufacture our own. With the Hy-Glide wiper-seals, we will only use the "wiper" side of the tool. Orient the wiper-seal like this:

17) Slide the wiper-seal all the way up the tool and lube the outer surface of the wiper-seal with Rock 'n' Roll Super Slick grease:
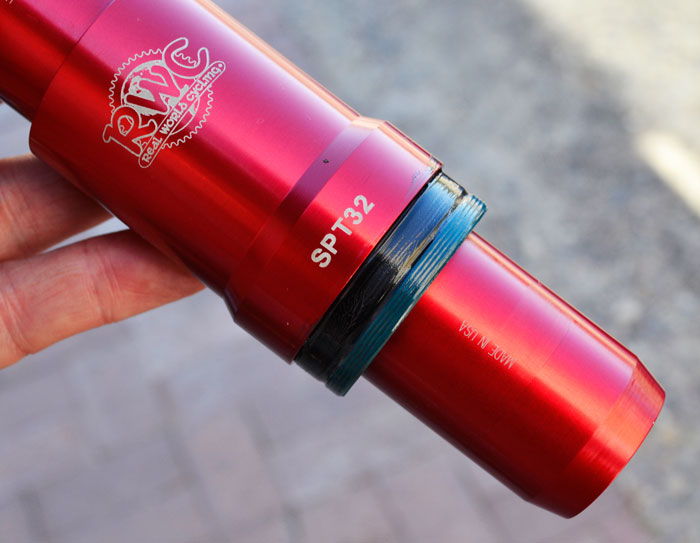
18) The press tool utilizes the upper fork bushing to perfectly align the wiper-seal before pressing it into the seal head:
19) Push the wiper-seal into the seal head by hand until fully seated. The wiper-seal is fully seated when the wiper-seal flange is flush with the top of the seal head. If using the RWC press tool, the wiper seal is fully installed when the center section of the tool contacts the top of the seal head. In most cases, a rubber mallet will be required to fully seat the wiper-seal. Please try to strike the tool a bit more squarely than this shot!
NOTE: If the wiper-seal seats initially, but then slowly "creeps" up out of the seal head,
remove the wiper-seal and completely remove all of the lube from the press-fit surfaces of the wiper-seal and the seal head.
Then, re-install the wiper-seal "dry."
20) The SID seal head is shallow when compared to most RockShox forks (Reba, for example). There is not sufficient room to use the foam rings included with the Hy-Glide kit:
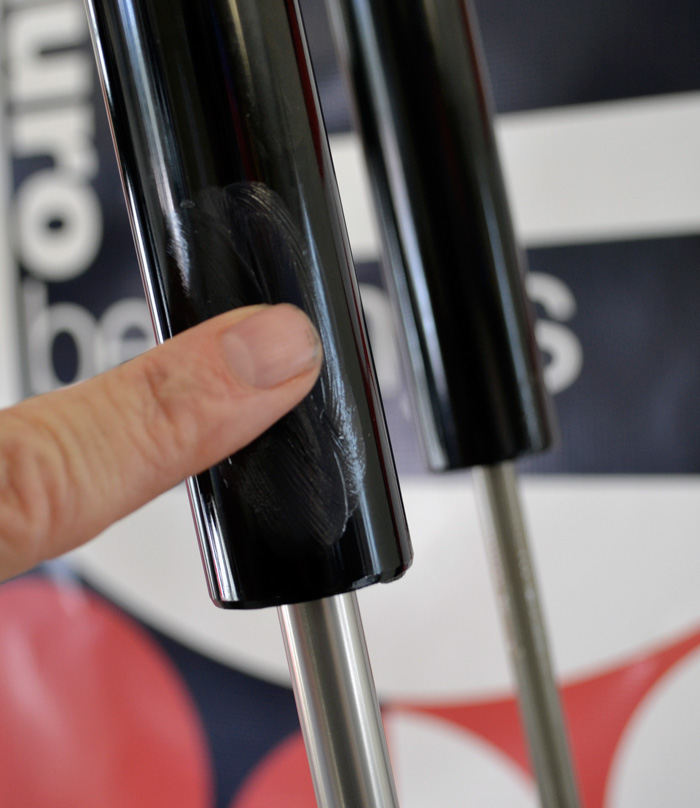
21) Apply a bit of Rock 'n' Roll Super Slick grease to the stanchion tubes:
22) Carefully start the lower assembly onto the stanchion tubes.
BE SURE BOTH PARTS ARE ORIENTED THE SAME! (don't have the crown-steerer-upper assembly facing forward and the lower legs facing backwards)
Get one wiper lip started onto its respective stanchion lube and then work the second one on..
Gently slide the upper tubes into the lower assembly but NOT all the way down yet (about 2-3 inches in):
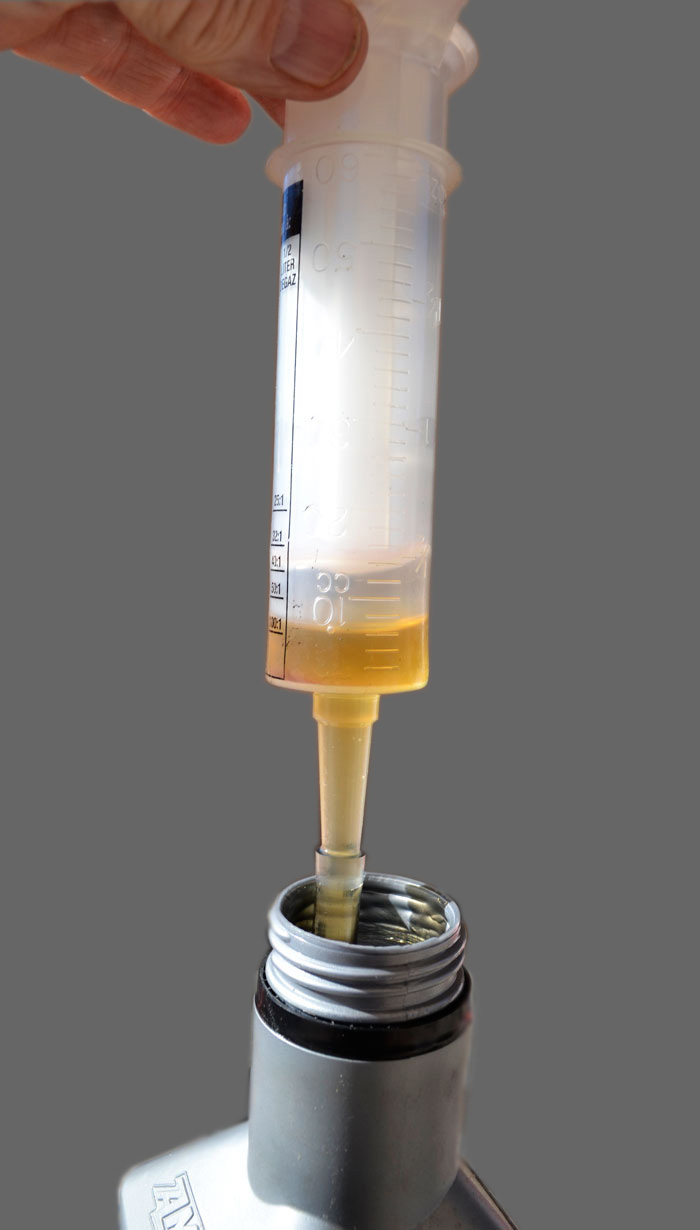
23) For the "splash bath" lubrication of the seals and bushings, we recommend a fully synthetic motor oil around 5w-30wt. Use about 6cc in each lower leg:
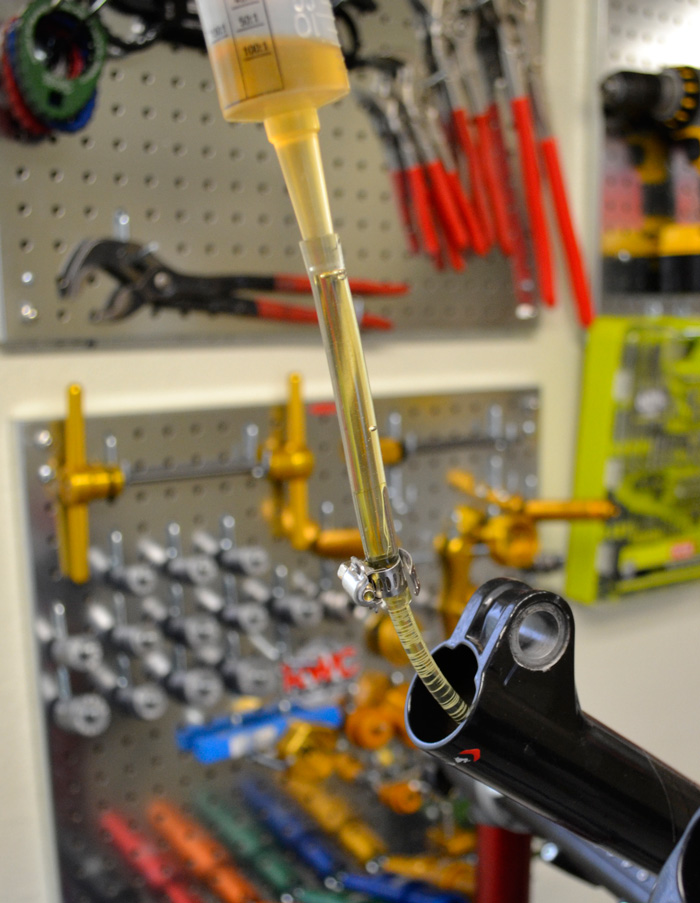
24) Usually, the MixMizer oil syringe can directly inject the oil into the bolt holes of the lower legs. However, on the SID Race, the holes are recessed and the hose included with the syringe is too fat to fit into the hole. We rigged a smaller sized piece of tubing to the end of the stock tubing:
25) After injecting the oil into both legs, wipe off any excess oil:
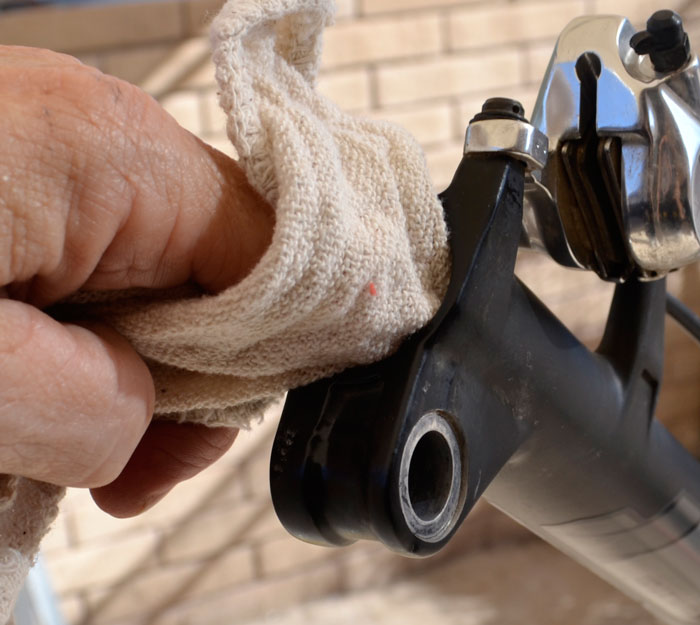
26) Use a clean rag to cover BOTH bolt holes--otherwise, when you push the lowers onto the stanchion tubes, you may shoot oil out of the bolt holes!!
With the holes covered, push the lowers down until the stop against the internal rods:
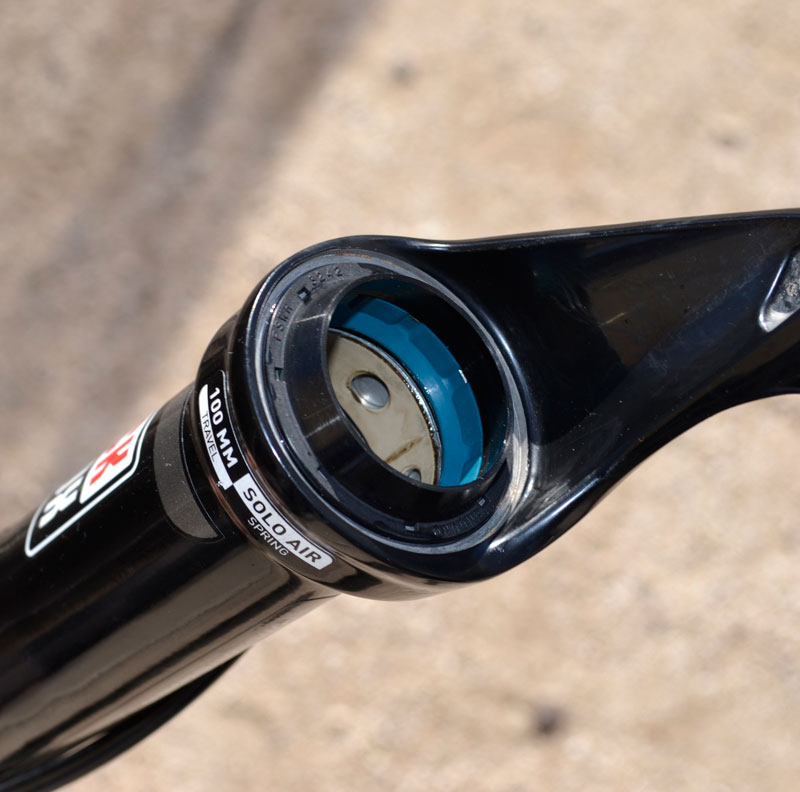
27) You can verify the lowers are all the way on by looking through the bolt holes in the lowers. Here you can see the bottom of the air rod is ready to accept the bolt.
(NOTE: If you can't seem to push the lowers far enough to bottom out against the air rod, the air rod might have retracted.
You can pump a bit of air into the air spring chamber at the top of the fork leg in order to extend the rod, if necessary):
28) Although it is not normally necessary, you can replace the crush washer on the air-side foot bolt with one of the new ones included with the kit:
29) Using the 5mm Allen driver, start the fixing bolt into the rod threads:
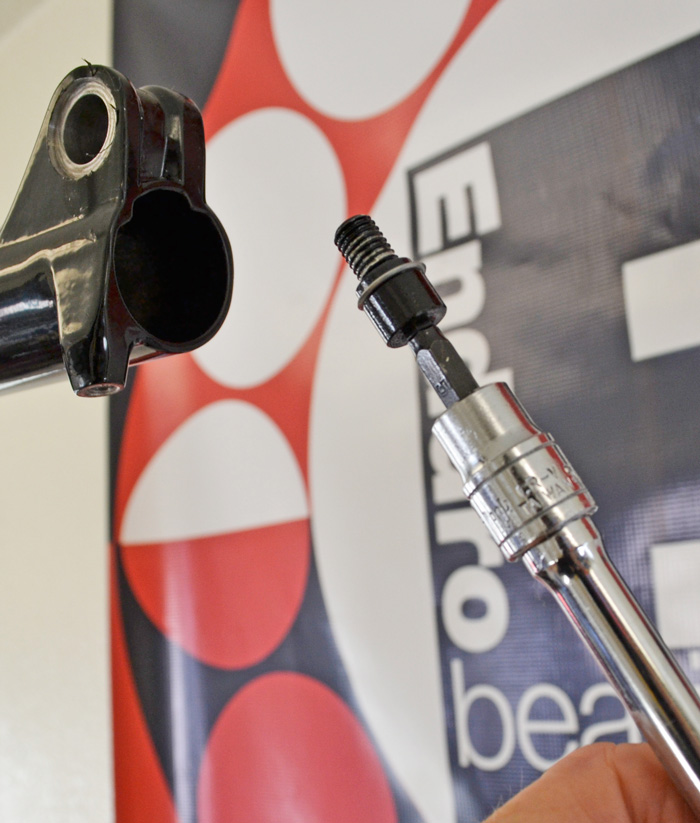
30) Turn clockwise until tight (torque value= 65 Inch-Pounds or 7.3 Nm):
31) If needed, install a new crush washer on the damper-side fixing bolt:
32) Start the damper-side fixing bolt into the damper rod (through the casting hole in the lower leg):

33) Turn clockwise until tight (torque value= 65 Inch-Pounds or 7.3 Nm):
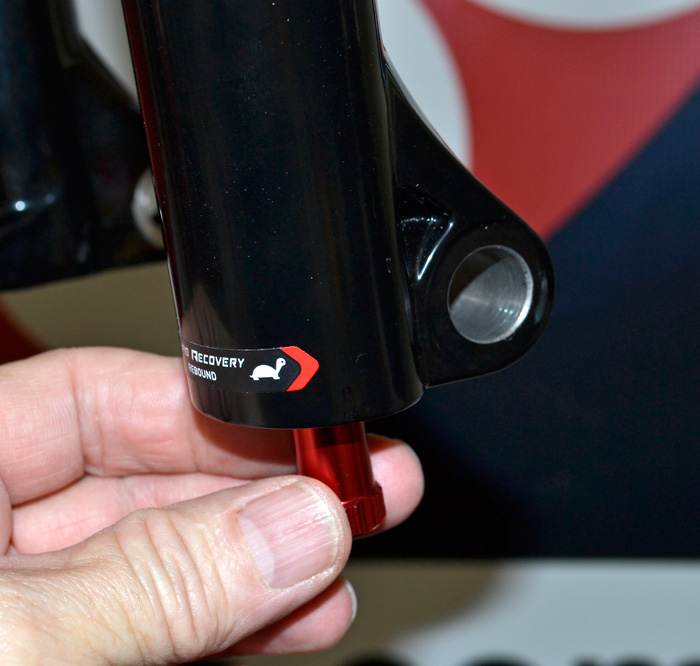
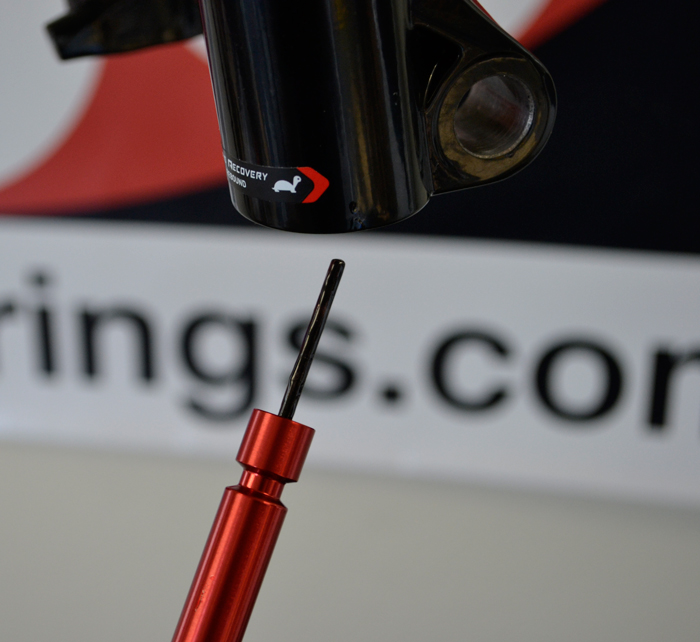
34) Guide the "Allen" shaft of the rebound knob up through the fixing bolt. Align the rebound knob withe the bolt head and firmly push it into place:
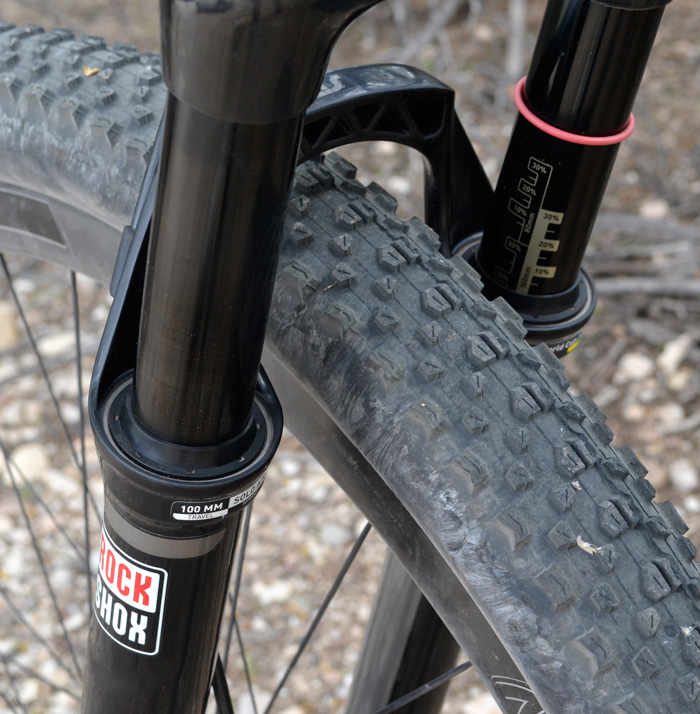
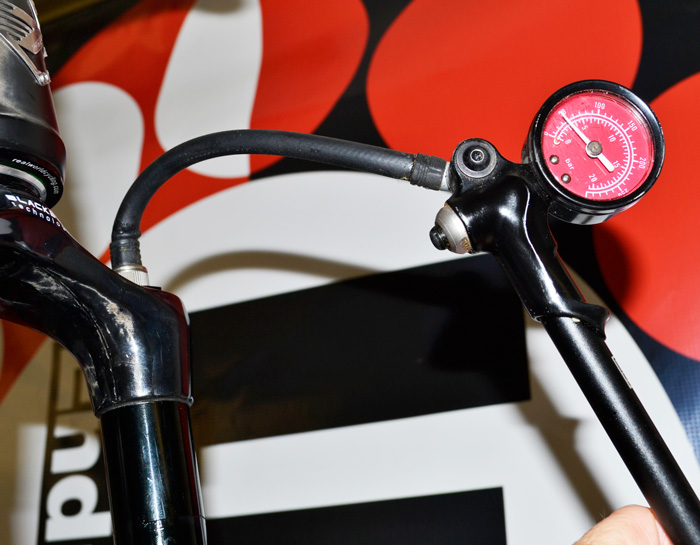
35) Pressurize the air spring. Either set to the previous pressure, if that was suitable for your riding style, or follow the chart on the lower fork leg for a starting point.
You can make fine adjustments to the air spring pressure later, based on your riding experience:
36) Replace the air spring cap:
37) Thoroughly clean any excess grease or oil from the exterior of the fork. Reinstall the fork on the bike and enjoy the ride.